
Hints
Keep a Log
- Speed and outside temperature when an error or issue crops up
- A picture of the dash error message - this notes the miles and exact words of the error message.
- If a reset helps
- If the error shows up right away upon startup or after driving for a while or reaching a certain speed.

Starting up/shut down
Starting requires 2 steps. (1) Either touch the screen to enter in your PIN or put the key in and turn (2) Use the start button and brake pedal to finish the start sequence. Sometimes it is difficult to push the brake pedal enough to start. It can help to squeeze the start button FIRST. While holding the start button, push the brake peddle and keep applying more brake until it starts.
Under the brake pedal is a reed switch that can be adjusted. A hair’s width of adjustment can make a world of difference in how hard you need to push the brake pedal in order to start up. The reed switch can also be sensitive to changes in seasonal temperatures. Arcimoto can help adjust the switch for you so you don’t need to practically stand on the brake pedal to start it.
Don’t forget there is a kill switch (motor off switch) on the right side of the handlebar. If you accidentally trigger it, the Arcimoto motors will shut off causing any acceleration to stop. An icon with a circular arrow and “X” across it will display at the bottom of your Display.
Windshield Wiper
To get the wiper to do a single stroke, press the lower windshield wiper button (the one with fluid). It goes once. If you do it a bunch of times, you'll get a little fluid. Otherwise you have to press the wiper button 3 times.
Seatbelts
Must latch both seat belts to put in gear
Buckling rear belts before solo highway driving. Buckle both front and rear before hauling in open utility trailer. This prevents the belts from flapping and the buckles from hitting the roll cage, chipping the powder coat.
Drying the seat belts after rain driving. Pull out the front seat belts and hang them on the handlebars. Rear seat belts can be looped around protrusions near the front seats.
Charging/Battery
Loud fan noise while charging is expected, especially in hot weather or high rate of charge.
Remember to close charger cover on your FUV
Expect the FUV to lose HV battery charge while sitting idle if not plugged in. This can also affect the 12 volt battery which affects startup and charging. It is best practice to always keep your FUV charged daily.
The FUV only does 8mph in reverse, and no regen available.
During cold weather (somewhere under 50-60 degrees F), you may notice that the FUV’s state of charge (SOC) never seems to get above 85-88% when charging. As the day warms up, you might get more charge. Arcimoto explains this: “This problem is due to physics. As the temperature gets colder the available electrons in the batteries move slower, and the State of Charge available decreases. The closer the ambient temperature, and the temperature of the battery packs, get to freezing the lower the available maximum charge capacity. This is to protect the life of the batteries. The Battery Management System is designed to adjust during these cold conditions. During cold weather you may notice: (1) The displayed state of charge will change abruptly either up or down based on the temperature of the batteries. (2) The displayed available charge will top out around 70-80 percent. (3) The rate of charge will slow down and the time to charge your vehicle will vary. In addition, your tire pressure will decrease and the vehicle will handle differently than normal.”
Parking Brakes
Parking brake is electronically engaged with a button. If you see only one light on the button when engaged that might mean the parking brake needs to be adjusted.
Brakes
Brake noise (squeaking) can last for hundreds of miles before silencing, including following another OEM brake pad break in procedure
The Kill Switch (right handlebar, red button) can easily be triggered, even without realizing it. Simply glide to the side of the road, put in neutral, then put back in gear.
Control Panel Area
The bottom USB port is 2.1A, the top port is only 1A.
The control panel has 3 dots on each button that on some items controls the level or speed (heaters, defrost, windshield wiper speed). Pushing the button multiple times adjusts the item’s level.
Staying dry
Without an enclosure, you might want to wear appropriate clothes for wet weather (construction gear, waterproof fleece lined pants, Klim zip on/off gortex jacket & pants, a lap blanket such as a picnic blanket with fleece on one side and nylon on the other)
Be aware that condensation from the top of your windshield (where it meets the roof) might drip on you when raining
Lights, Camera, Action!
The Arcimoto has no backup lights, but there is a harness to plug in your own 3/4 inch LED Side Sealed Flush Mount Lamp using a matching plug.
Current halogen headlights are rated at about 65w per bulb. Current incandescent license plate bulb are rated at about 5w. Turn signals are rated at about 23w per bulb.
LED bulbs can cut your power consumption. For instance Sealight X2 bulbs are rated at about 25w per headlight bulb. The Yorkim Festoon LED license plate bulb are rated at about 2w. Auxito LED turn signal bulbs are rated at 5.5w per bulb.
The Arcimoto does not come with a backup camera or dashcam. There are several options available and listed at Accessories and Farkle.
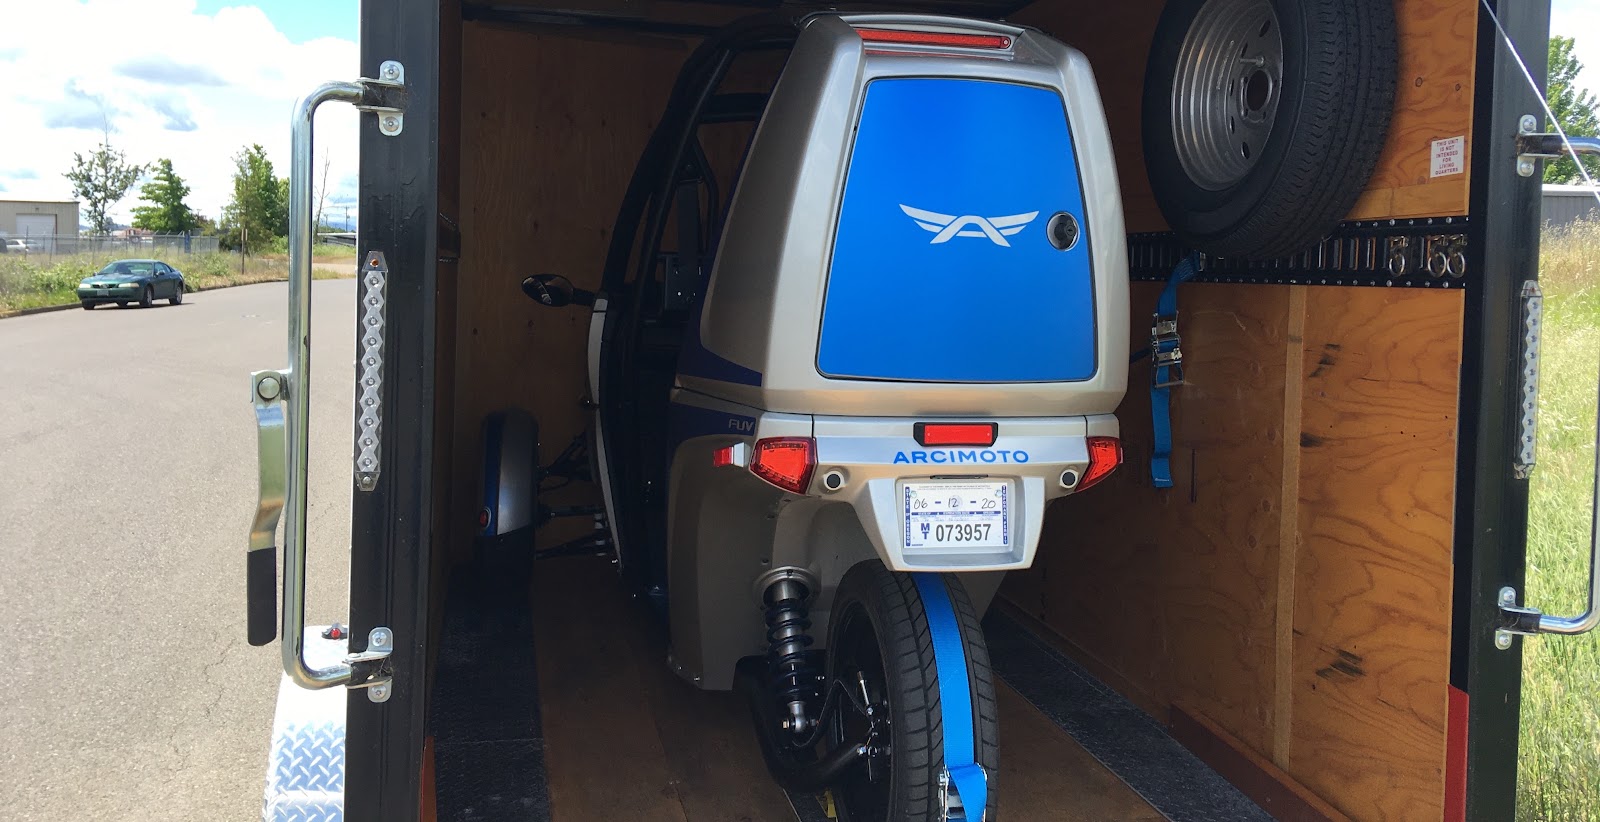
Storage of Arcimoto While Not In Use
- Keep it plugged in. The easiest option and covered in your owner’s manual.
- Disconnect the HV big battery using a right side reset (see reset directions below. Only push the button, don’t pull the flag up. When you get back and need the vehicle, pull the flag up.
- If you have a 12v cigarette plug in that is wired to the 12v battery, plug in a 12 volt trickle charger.
Changing to LED Bulbs
There is a list of LED bulbs you can use to replace non LED bulbs on the Accessories and Farkle link on the sidebar. Might want to be careful replacing the blinker with a Canbus type LED bulb as it might change your blinking rate. This could be because there might not be enough resistance for the blinker relay so a ballast resistor might need to be added.
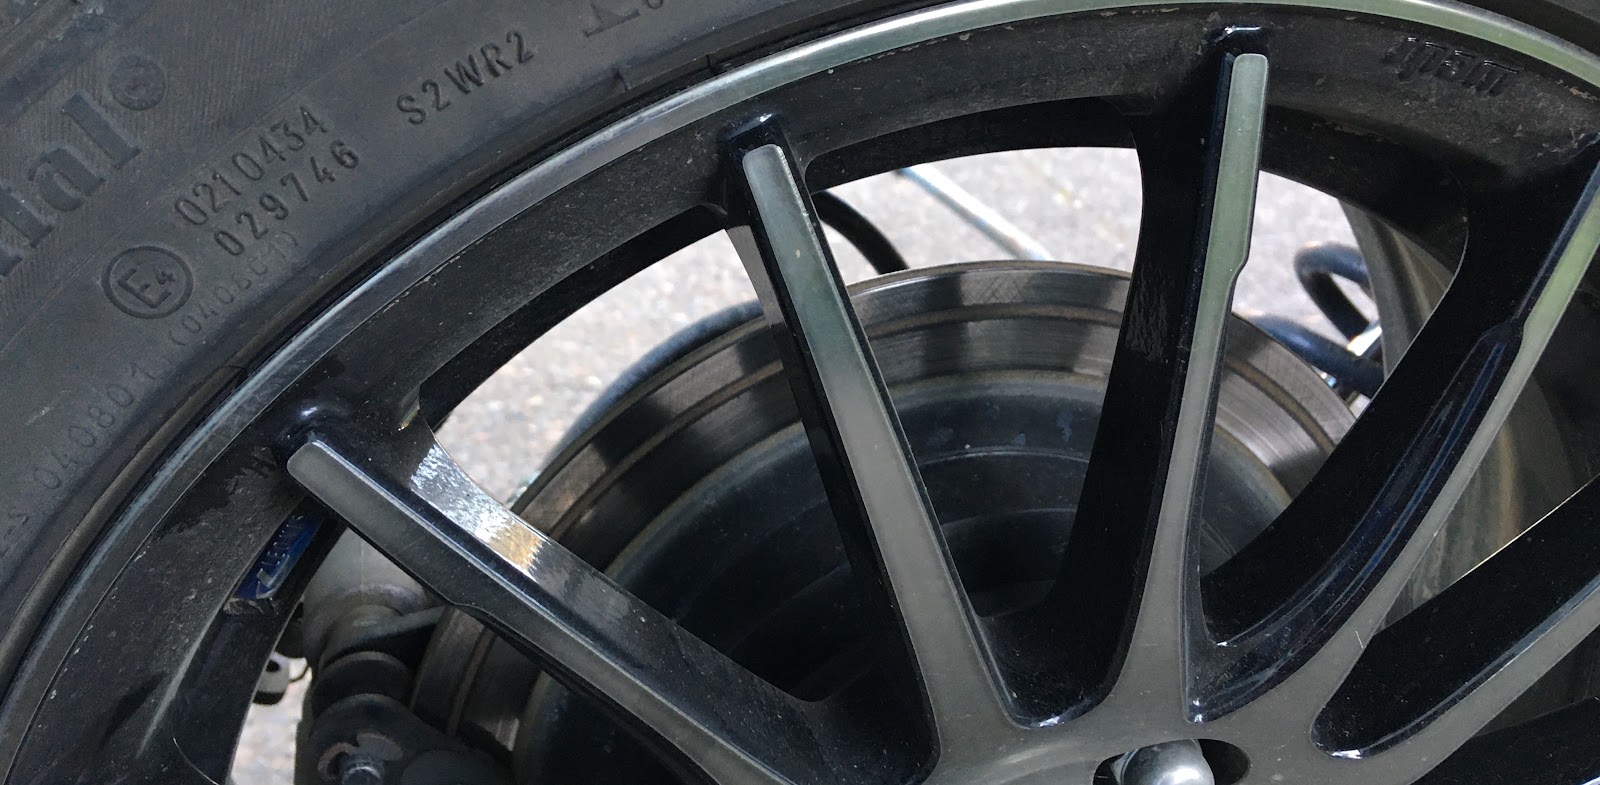
Front Wheel Noise
You can cut down on high speed flapping noise from the front wheel mud guards by simply trimming away about an inch wide triangle on each side of the mud guard at the bottom.
Arcimoto Factory Reset
Right side soft reset
A right side reset should be one of your first go-tos for any error message or issue. RECORD the error message by simply taking a picture and if deemed necessary, report it support@arcimoto.com
- Open the small panel near the driver’s right knee using a philips screw driver
- Look inside toward the middle of the vehicle you’ll see a small red button. It can be difficult to push but when you push it correctly, a small yellow flag drops down.
- Wait a few seconds, then lift the yellow flag back up
- Replace the panel
Full Reset
- Open the small panels on the left and right foot wells near the driver’s knees
- On the left panel, you'll see a yellow and a red wire connector. Disconnect both of them. (I noticed that pulling them apart just enough to loosen the connection without pulling them all the way apart makes it a lot easier to re-connect.)
- Then look inside the right side panel towards the middle, underneath the steering column and you'll see a red button. Flashlight helps. Push that in and a little yellow tab will drop down.
- On the left panel reconnect the wires
- On the right panel flip the yellow tab back up till it clicks
- Replace the panel covers
Arcimoto Odometer
A battery failure may cause the odometer mileage to go to Zero - it will restored when a reset is accomplished.
Charge Options
On the road
J1772 charging stations such as Blink, Charge Point.
See Google maps, Alternative Fuels Data Center (DOE), and Tesla Destination Charging Stations
Apps such as PlugShare, EV Connect, Chargeway, and ChargePoint
At home
- J1772 EVSE (EV Special Equipment) such as ClipperCreek, ChargePoint, JuiceBox
- Charge on Level 1 with J1772 will require 8-10 hours of charging when battery is depleted to 10% or less
- Charge on Level 2 with J1772 will require 4-6 hours of charging when battery is depleted to 10% or less
FAQs
- Currently there is no mobile app available but there is one slated to be offered at the end of 2022
- How did the name “Arcimoto” come to being? “The first year it was called Electromotion design year one. No one liked it. They brain stormed for a new name. The company was looking for an ‘A’ name (vehicle companies are hard, might as well sort to the top of the list), that googled to nothing (own the name). Arc represented electricity, I, moto=drive. Then several new electric cars were announced and they realized arcing was not a good thing in electric vehicles, so arc became Archetype, the arc of the future. Arcimoto: Future I Drive. They voted and Arcimoto won. The founder likes the name, Arcimoto, because it has clear Italian (style) and Japanese (engineering) pronunciations.’’
- Have there been any accidents? At a REFUEL event in 2011 (yearly racing event for electric vehicles that has been held at Laguna Seca International Raceway), some of the Arcimoto team showed up along with OptaMotive (another three-wheeler company) where they raced with the motorcycles. During one of the races, the Arcimoto driver rolled the vehicle. An observer saw that the vehicle frame acted as a very good roll cage. There was small dents to the top of the frame, and otherwise it was in good shape.


4 comments
How does it do on hills? I know it can go 75 MPH but is it allowed on the freeways? I'm in California, thanks
Hills are not a problem because it has 2 motors in front. It can definitely maintain speed. It goes 75-82 mph. Of course the bigger the hill and the faster you go the battery drain. So at 25-40mph you get about 100 miles. At 55mph you get 66 miles. But at 70 mph you only get 32 miles.
What should I do if my FUV is not turning on and I need to move it, how do I get the tires to move, it will not turn on.
You can either put wheel dollies on the 2 front tires and disable the parking brake or figure out if your 12v battery died snd needs to be charged or replaced. You’ll want to read up on the latter. Just search this website for battery.
Post a Comment