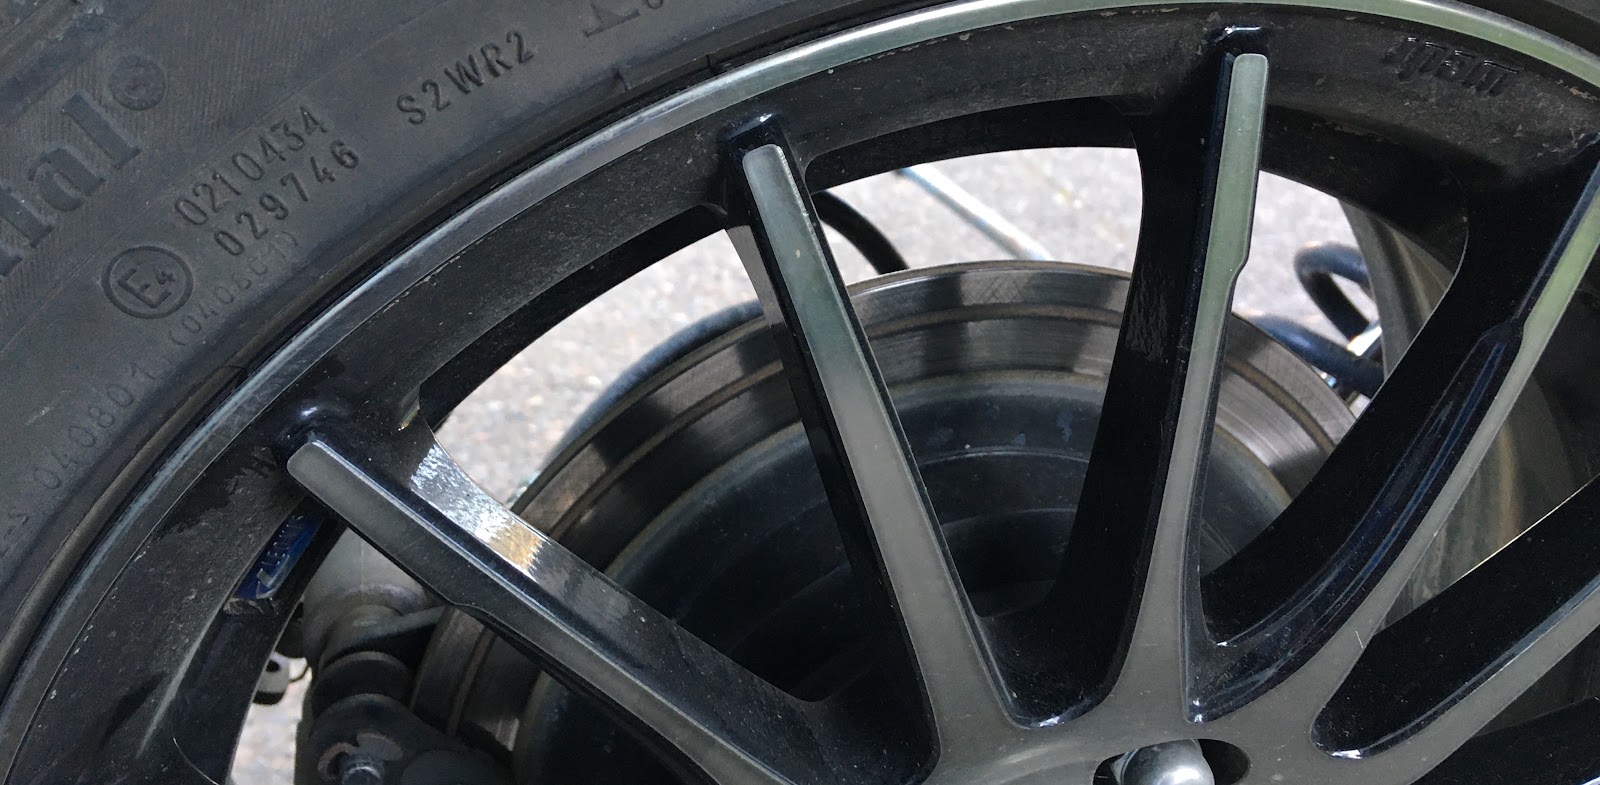
Don’t drive while it is broken, it can break further and get stuck in your wheel causing damage. Either park it, remove the bracket, or tape it with gorilla tape temporarily.
If you are out of warranty or get them to send you another bracket without having to send your broken one back, you might be able to try to re-weld your bracket. Remember, the left and right side brackets are not interchangeable. That means if your right side breaks, you’ll need to fix or order the right side bracket - and vis-versa.
One Arcimoto employee that worked on strengthening the bracket said:
“Add half inch strips of steel up as high as you can along side the arms and reinforce any stress risers in the areas where they already cracked. They seem to most often crack right where those arms/reinforcing-ribs end, and there is a stress riser. 3/8” square bar might be a good size to try, welded up along side that rib.”
Another suggested:
“Be sure to have the welder fill the holes and reinforce the welds at the existing “stiffeners”, looking for hairline cracks in the flat steel at both front and back of the bracket as well as the stiffeners themselves. It WILL fail at both the front and back sooner or later so reinforce it now while it’s being fixed the first time. Weld from both sides of the bracket and grind nearly flat only on the plastic fender side, for proper surface contact when bolted together again.”Here is another:
“when you have then repaired make sure they bridge the gap between the flanges. Also have them weld the slots on the backs side, these slots create a stress riser where the cracking usually starts.”
Here is a compilation of self welded bracket photos:
Weld #1

Note from Facebook poster: Two stiffeners of 1/8" by 1/2" hot-rolled steel bar from the hardware store. If I redesigned it I would leave out the ribs and replace them with a 1/8" flat doubler in the stress area.
Weld #2


Note from Facebook poster: Welded it with an extra piece of metal to help support it.
Weld #3

Weld #4


Weld #5

Weld #6 - welded 1/8” plate on outside so plastic cover needs to bend to fit


5 comments
I removed the three screws on the inside of the fender and the fender did not come off. Is it glued on?? It's difficult to believe that the little plastic fender is breaking that thick steel bracket, unless they have chosen a very brittle steel. If I can get the fender off, I can probably make a CAD model and drawing.
We removed the bracket with fender on it first, unplugged the lights, then on the inside removed the screws on the inside/outside of the bracket that hold the fender on. You can also remove the wheels and get the fender off first then bracket.
Excellent. Any guess on the torque to replace it?
Have no idea of the torque but I can ask the next time I’m over there.
Sounds like it is 20 lb-ft. But it is so tight you can only get an end wrench in there. Not sure Arcimoto even measured the torque on those nuts.
Post a Comment